Delicata. The most delicious squash in all the land. Also one of the easiest to prepare and cook in my opinion. I don’t worry if I’m going to cut my hand off when trying to slice through them (ahem. I’m looking at you, spaghetti squash…although, side note to that – stick the spaghetti squash in the microwave for a couple minutes and it makes it so much easier to cut).
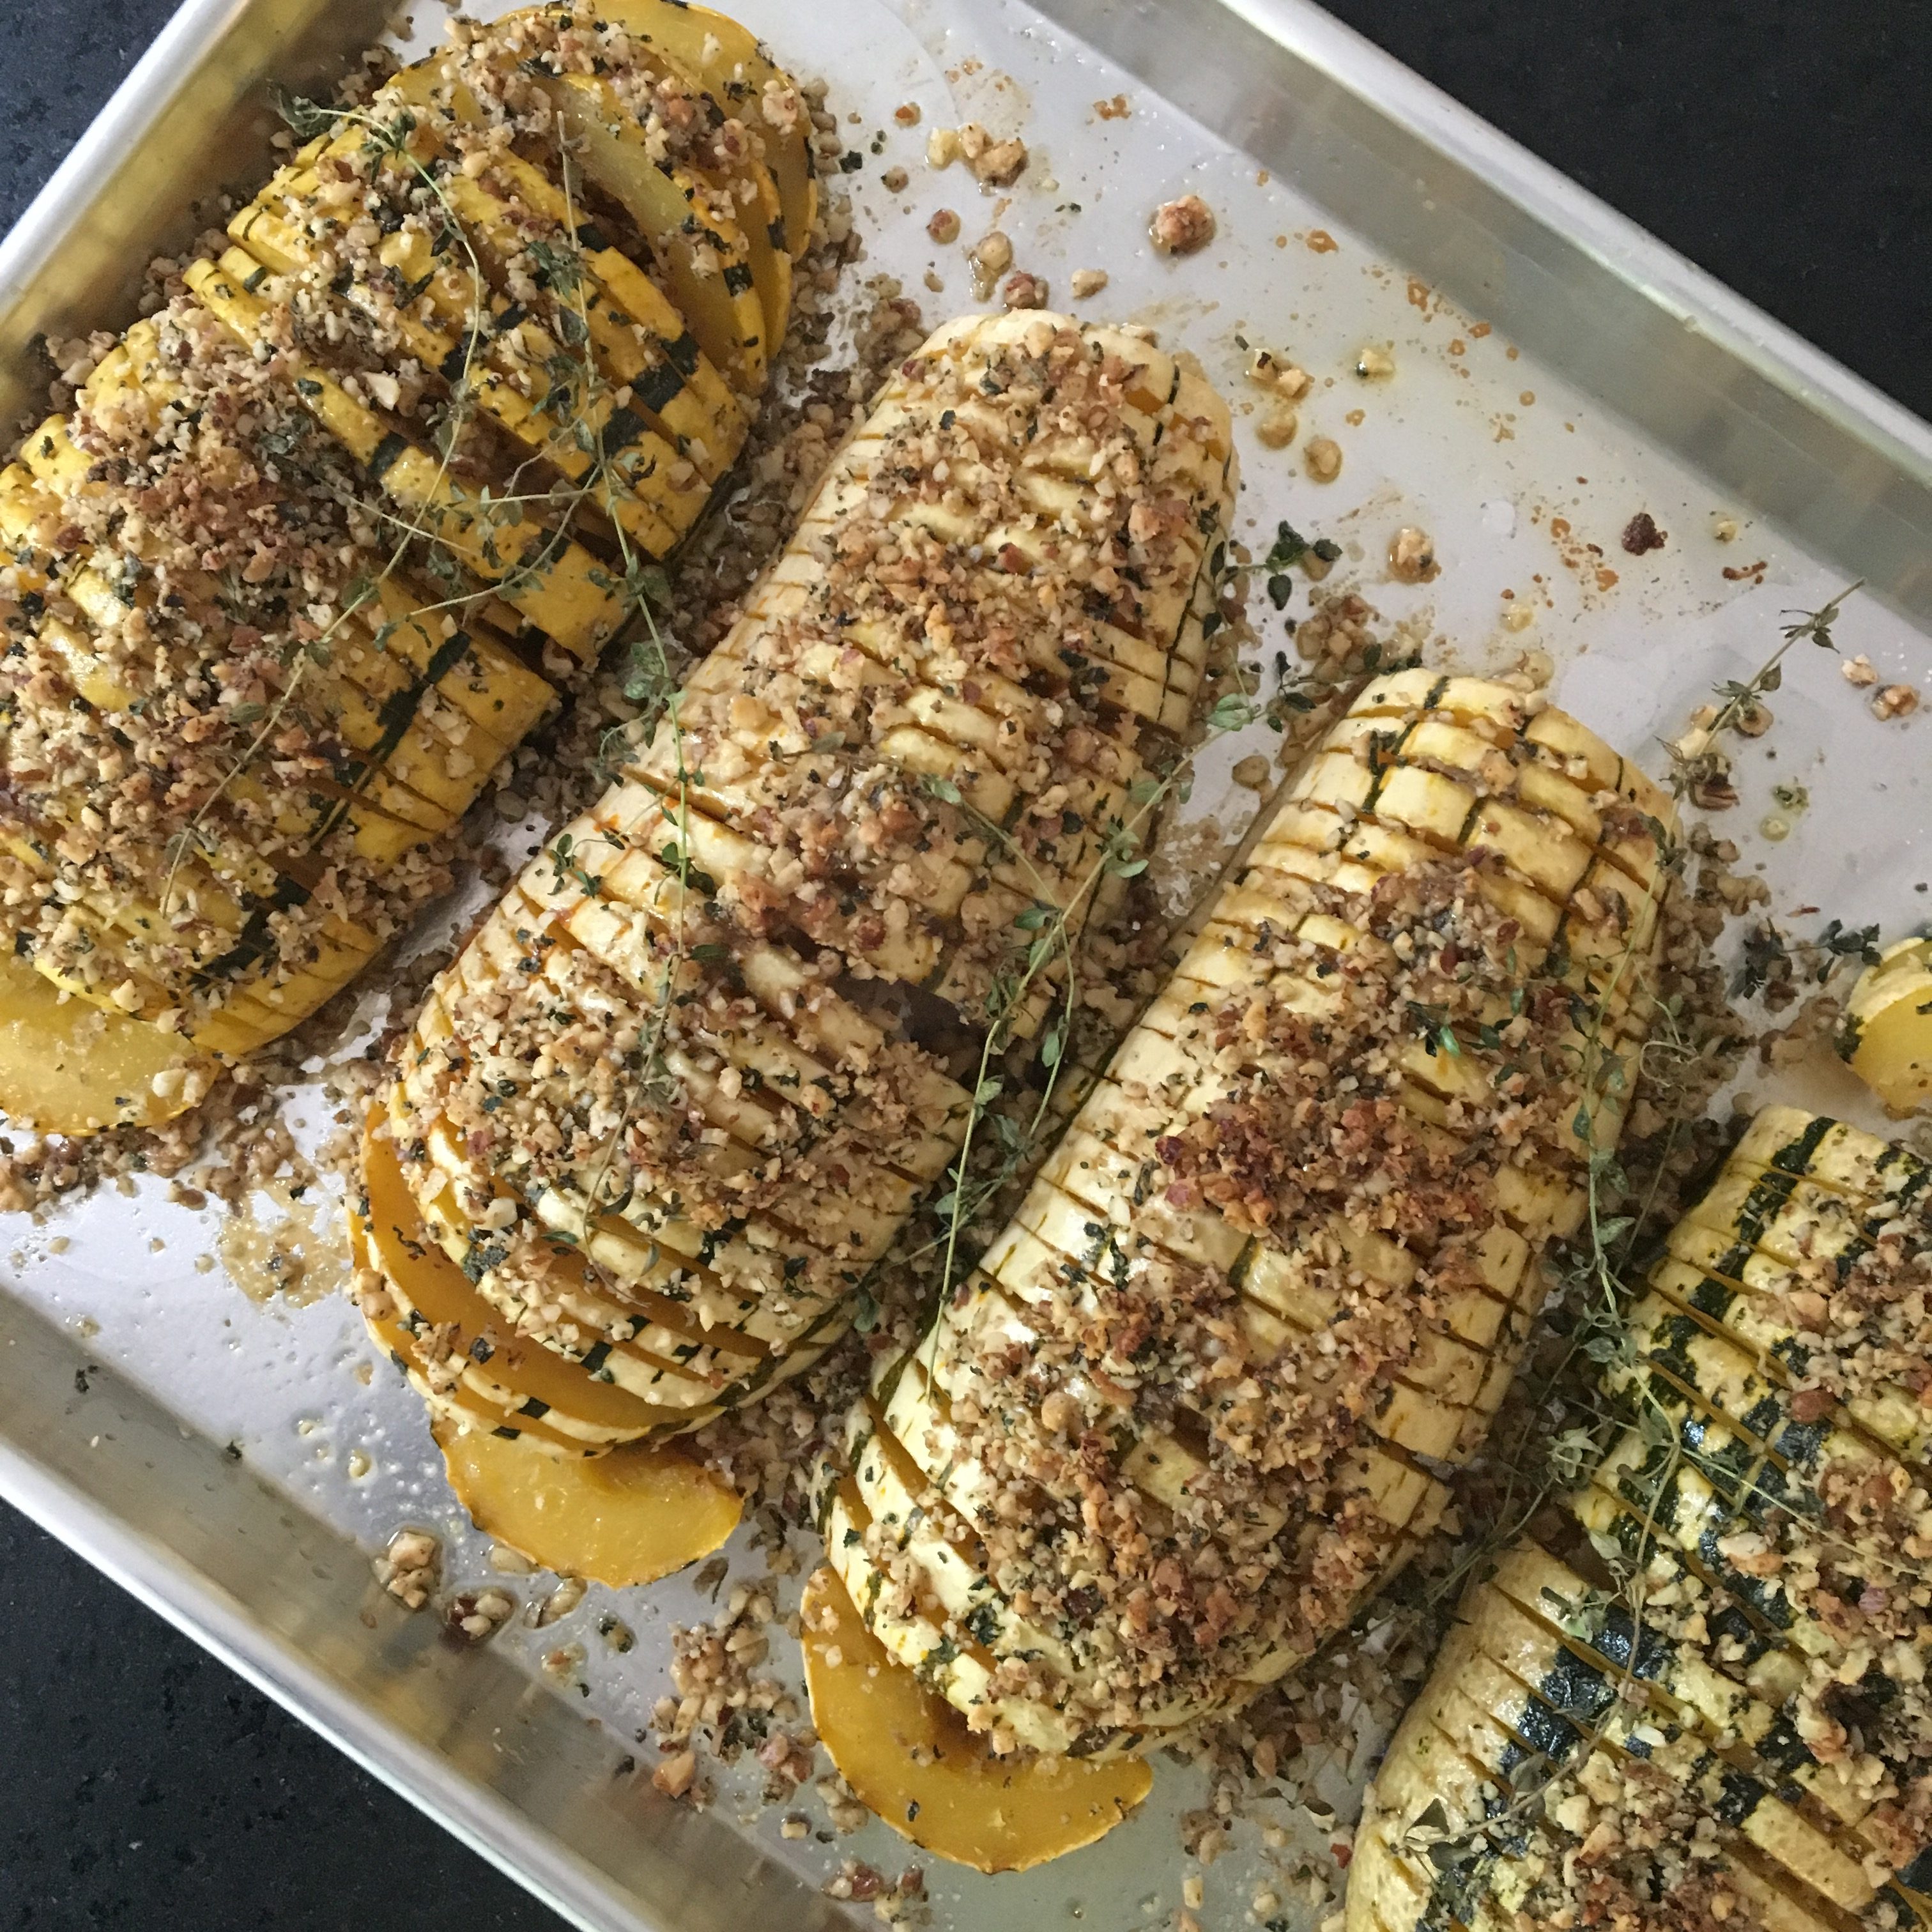
Anyhoo, I usually cut these guys in half the long way, scrape out the seeds, and then slice into little smiley-looking things but decided to try the ol’ hasselback technique for fun this time. Made it a little more labor intensive but they turned out quite tasty and make a fun and pretty side-dish.
If you’re wondering – yes, the skin is edible! That’s another reason the delicata is one of the best squashes. No peeling necessary. They’re also really pretty with their scalloped edges. Okay, on to the deets!
Why this is healthy:
Delicata squash is lower in carbohydrates than starchier carbs like grains or white potatoes so it’s perfect for someone living the low-carb life. It’s a good source of fiber, especially because you’re eating the skin. Like other winter squash varieties, the delicata is high in vitamin A (as beta carotene), which is absolutely necessary for good health. Vitamin A is needed for eye health, the immune system, reproductive organs, healthy skin, and even your heart.
I should mention, though, that vitamin A is a fat soluble vitamin, meaning you must have it with some fat in order to absorb it. There are also different forms of vitamin A. Beta carotene, found in plants like this squash or carrots actually has to be converted in the body to the usable form of vitamin A, called retinol. So when I say the squash is high in vitamin A, technically it’s only high in a precursor to vitamin A which the body has to convert (though beta carotene is also an antioxidant which fights free radical damage in the body so this is also a good thing!). This conversion doesn’t always happen to the extent we would want it to so it’s important to also consume vitamin A in it’s already-usable form from quality animal sources like liver (stay with me), fatty fish like salmon, sardines, or mackerel, or grass-fed dairy or ghee.
Lucky for you I’ve got you covered with both beta carotene AND retinol from delicious ghee in this recipe.
Why this tastes good:
Winter squash pairs so well with autumny flavors like maple, mustard, and sage. Roasting it brings out the natural sweetness and the nuts add a nice little toasted crunch!
Ingredients:
- 2 delicata squash
- 4 tbsp melted ghee
- 1 heaping tbsp mustard
- 2 tsp pure maple syrup
- 1/3 cup of mixed fresh chopped sage, thyme, chives, and rosemary (or whatever you like!)
- 1/3 cup chopped walnuts
- 1/4 tsp coriander
- 1/4 tsp cardamom
- salt and pepper to taste
PREPARATION INSTRUCTIONS:
Preheat the oven to 400 degrees. Cover a roasting pan with parchment paper (or don’t. I didn’t). Cut the ends off the squash and then slice long-ways and scoop out the seeds. Put the cut squash skin side up on the cutting board and place chopsticks or wooden spoons as guides set up on the long sides of the squash. Slice down through the squash perpendicularly, stopping at the chopsticks or whatever you’re using. This is stopping you from slicing the whole way through. Continue that through each squash half.
Put the 4 squash halves skin side up on the baking sheet. Mix together the melted ghee, mustard, maple syrup, coriander, and cardamom. Sprinkle salt and pepper over the squash and brush a little of the melted mixture onto the squash. Bake for 15 minutes or until it starts to soften and the partial slices start to separate.
Meanwhile chop up the herbs and nuts. If you have a small food processor you can just do it in there, easy peasy! Once the squash is finished with the initial roasting, remove it and spread more of the melted ghee mixture onto it, getting it down in between the slices that are now more easily separated. Add some more salt and roast for another 8-10 minutes.
Remove from the oven and add the rest of the melted ghee mix and top with the chopped herbs and nuts. Place back in the oven for 5-7 minutes but check it often to make sure the walnuts aren’t burning! We want them toasted, not burned which can happen in the blink of an eye with nuts!
When the nuts are a nice toasted brown color, remove from the oven and serve!
